How to Make DIY Wedding Invitations Using Cricut Maker?
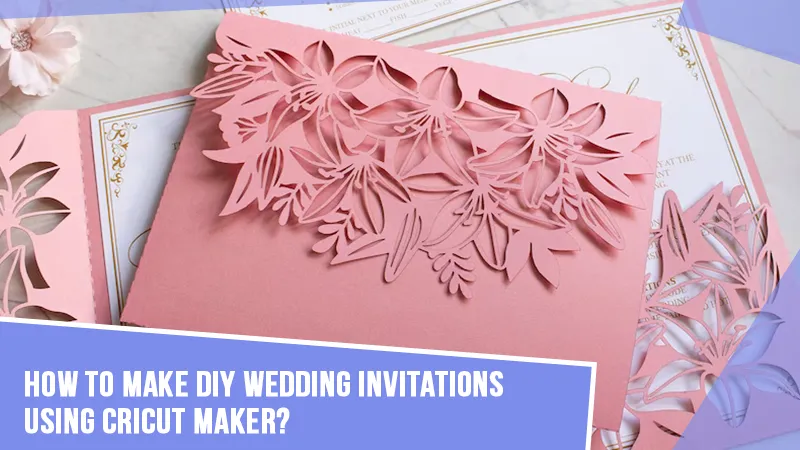
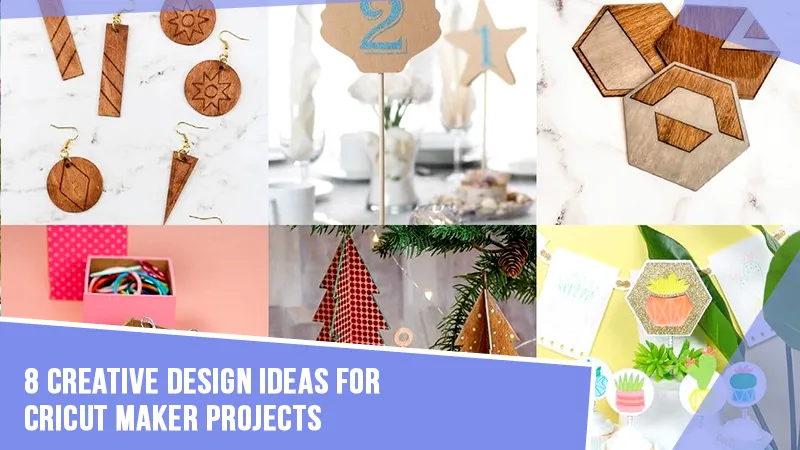
Creating project design ideas for Cricut Maker can save you a lot of money, and sell projects as well to earn some extra bucks. Now, you can unleash your creativity and save money by designing your wedding invitations yourself. Crafting cute DIY wedding invitations can be a fun and satisfying process, and you will find out how easy it is to create them using Cricut Maker.
Making DIY wedding invitations requires a Cricut Maker machine along with essential tools and supplies. These tools will help crafters in producing high-quality, budget-friendly cards. This guide will outline the necessary steps to complete the process.
Step 1: Open the Cricut App on Your Device
The following steps will help you learn how to make design ideas for Cricut Maker projects:
- First, sign in or create your Design Space account using the Cricut ID & password.
- Second, tick the New Project and press the Uploads tool under the Menu section.
- Third, tick the Upload Image and one or two images from your computer.
- In the preview image, select both images one by one.
- Further, and then press the Save button given on the bottom-right of the screen.
- Next, choose the image given under the Recently Uploaded Images section and tick the Insert Image.
- Afterward, you'll notice that both images will automatically upload on the canvas.
- Following this, resize both designs so that you can see them on the canvas correctly.
- At this point, convert the lines into score lines by ticking the Ungroup option visible under the Layers section.
- Next, select the Score option present under the Linetype dropbox.
- Now, choose both the base layer and score line and tap the Attach box.
- Further, repeat steps number 9, 10 & 11 with the other images appearing on the canvas.
- After doing this, press the Make It appearing on the right side of the canvas.
Step 2: Enter Text in the Card
At this point, you will come into contact regarding creating a method to make DIY wedding invitations:
- Following the successful completion of creating the virtual wedding invite, you will land on the Mat Preview page.
- While observing the page, you will get to see that all the parts are adequately arranged systematically.
- Besides, if you want something other than extra design, then go back to Canvas and select the designs.
- Next, press the Delete option, and all the extra designs will instantly be eliminated.
- Further, choose the Text tool, start typing the text, and do specific editing.
- After completing the editing, tick the Attach box and choose the color under the Color section.
- Now, move the white color under the text and resize the text depending on the layer size.
- Further, press the Attach button and move the card back into the correct position.
- At last, again tap the Make It box present on your Design Space canvas.
Step 3: Wedding Invite Preview Mat
- After finishing up the earlier-said steps for Cricut DIY wedding invitations, you will land on the Mat Preview page.
- Next, select the layers existing on the left side of the preview page.
- Now, tap Continue and let your system connect to the Maker machine.
- After the connection process comes to an end, select the material from the list.
- Following this, tick the Done box and carry on with the cutting and printing process.
Step 4: Cut and Print Your Design
After concluding steps number 1, 2, and 3, respectively, take a step forward and begin with one of the vital stages, i.e., design cutting and printing. To commence custom wedding invitation design ideas for Cricut Maker step 4, go through the following steps:
- Further finishing the above-said steps, turn on your Cricut Maker, load the cutting mat, and upload the scoring tool inside the clamp.
- Following this, hang around till the cutting and printing process on the mat is going on.
- Next, switch off your cut-die machine and put out the mat from the Maker cutting machine.
- Now, paste another piece of paper on the Cricut cutting mat and insert the pen in the pen holder.
- Afterward, watch your Cricut machine penning down your text on the paper.
- Further, turn your cutting mat face down on the surface and slowly remove your card design.
- Following this, use your scraper tool to remove extra material from the cutting mat and make it reusable.
- Lastly, remove the extra edges from the cute DIY wedding invitations, ensuring that you don't ruin any sides.
Step 5: Reveal DIY Wedding Cards
To complete the final stage of crafting wedding invitation design ideas for Cricut Maker, you need to study the steps given below:
- Now, gently fold the design on the visible scoreline and set the design by using the tweezer.
- Next, apply glue in equal percentages around the using a Cricut glue gun kit and place the card on it.
- Now, use a ribbon to close the card and ensure that you simply tie the ribbon.
- Finally, your Cricut DIY wedding invitations are ready to be delivered to family and friends.
In conclusion, this blog on design ideas for Cricut Maker provides a step-by-step guide to creating high-quality do-it-yourself wedding invitation cards.
FAQs
Answer:
With an ability to turn creative ideas into reality, Cricut Maker allows the
user to create anything from the lightest to the heaviest material. Based on
the grounds of its cutting speed, blades, and other accessories, this cut-die
machine is the best option for creating do-it-yourself crafts for various
events. To craft the custom cards, all the DIYers must have a cutting machine,
Design Space & other supplies to accompany them.
Answer:
Yes, the Maker cutting machine is fully compatible with the Design Space app.
The software gives freedom to the DIYers in designing and creating the projects
digitally on its canvas by using various tools and libraries. Apart from that,
the app shifts the designs to the cut-die machine via built-in Bluetooth
technology. The DIYer can also use their designs or fonts while creating the
projects on the app.
Answer: If you are an expert in creating custom projects and want to make your D-day more memorable, then you shouldn't leave any chance to share your creativity side. With the help of the following supplies, you can easily craft your DIY wedding invites:
● Maker cutting machine
● Design Space account
● Cricut cutting mat
● Cricut compatible material
● Engraving tool
● Cricut pen
● Scraper tool
● Tweezer or Scoring Stylus
● Cricut glue gun kit


![How to Engrave Wood With Cricut Maker? [Ultimate Guide]](https://mannydesignspace.com/upload/blog/658be25b724f4how-to-engrave-wood-with-cricut-maker-ultimate-guide.webp)
![How to Make Stickers With Cricut Joy? [Full Tutorial]](https://mannydesignspace.com/upload/blog/662f8707e9780how-to-make-stickers-with-cricut-joy-full-tutorial.webp)